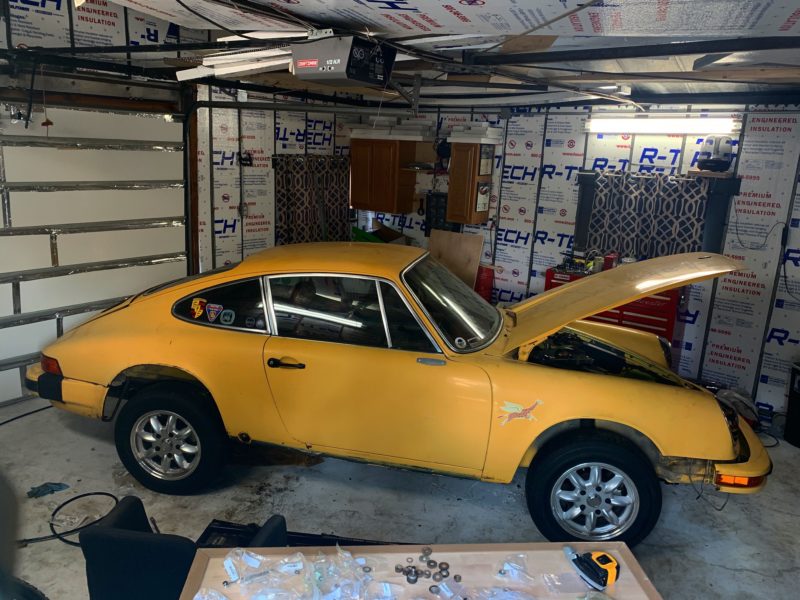
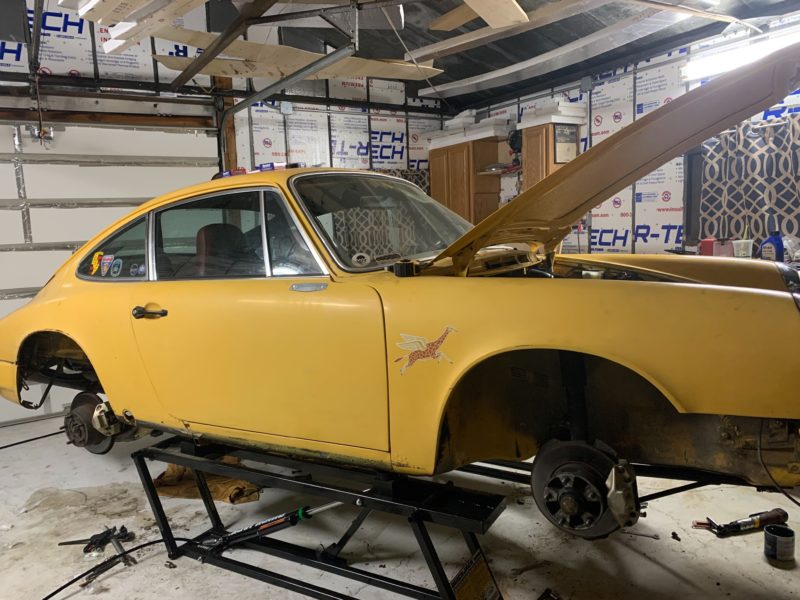
Whenever you’re doing a task for the first time, it is bound to take several times longer due to a lack of experience with procedure and form. That was definitely the case here with our 1976 Porsche 912E suspension overhaul. We ran into some serious issues in the disassembly process but we expected the re-assembly to go a bit smoother. We were very very wrong. At pretty much every turn we ran into difficulties and hang-ups that delayed the process further. We would attempt a process, notice that we did something wrong or didn’t have the right tools, then order them and wait for them to come in. That’s going to increase our job time significantly. So a month after the whole suspension was disassembled, we finally have it back together and ready to go to the shop for a proper ride height, alignment, and corner balancing.
So, where do we start?
In our case we started at the front axle. In our last installment we had gotten the old front control arms off and couldn’t get the torsion bars out of the arm. We took these arms to local Porsche experts Reno Rennsport to have the old bushings removed, the torsion bar pressed out, and given a quick blast in the sand blaster cabinet. They looked great when they were done, but one of the rear control arm mounts was damaged in the process. So a quick call to Elephant Racing had their upgraded low-friction mounts in the mail to us. Thankfully they’re only a day away by mail in the California Bay Area.
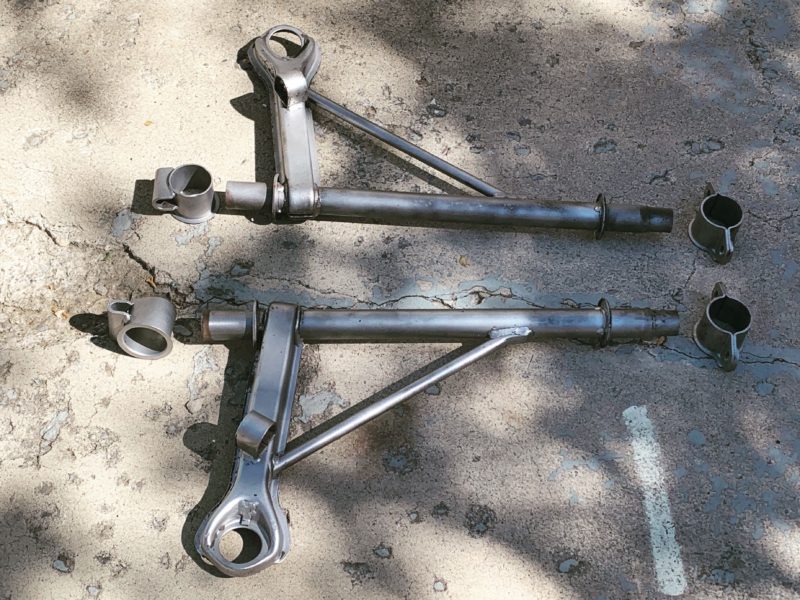
I gave the control arms a fresh coat of black paint before attempting to install the bushings. I had seen a handful of tutorials and thought I could build a press to get the bushings installed myself. After a $50 run to Lowe’s I had a large threaded rod to go down the center of the control arm’s torsion bar tube, a slew of nuts and washers to clamp it all together, and some sections of pipe to push the bushings. If you’ve ever done this job you know how far in over my head I was. Without proper force on the bushing it wanted to bind and slip out the back side of the mount on the front, and without the tapered inset on the rear it didn’t want to sit properly, catching between the arm and the mount.
Another call to Elephant and I had their bushing install kit in my hands a couple days later. Once I had the right tools and a copious amount of dish soap to lubricate all of the surfaces, it went together incredibly easily. Getting the control arms back on the car was another incredibly painful process, but after a day of pushing and prodding and loosening and re-tightening we managed to finagle it in there.
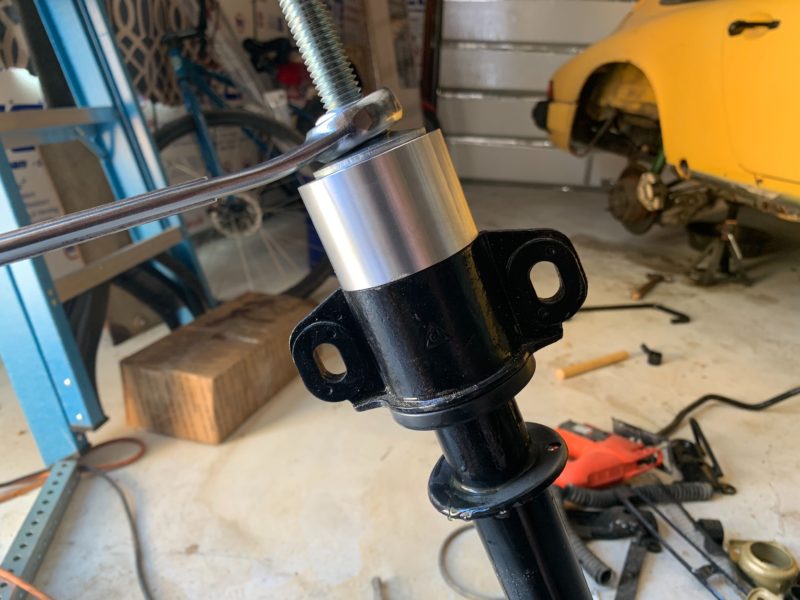
The strut top bushings and steering column bearing from Rennline were both pretty straightforward to install while everything was out. Getting the old strut top bushings out of the mounts was a little bit of a pain, but I simply drilled around the metal segment in the middle until the old bonded rubber was destroyed enough to pull it out. Without the metal piece in the middle, the rest of the bushing had enough pliability to push it out of the mount. The new bushings are stiffer, but are built from two separate pieces of rubber, so they split in the middle and clamp together around the mount. The steering column bearing goes in the same way it comes out. Disconnect the column at the coupler in the front trunk and drop the whole rack from below. We’d already had the rack out in the last installment to check play. It’s not a super easy job to do on your own, but it’s not impossible. I leveraged the rack up into position then held it there with a floor jack while installing the bearing and re-tightening the coupler. Bob’s your uncle.
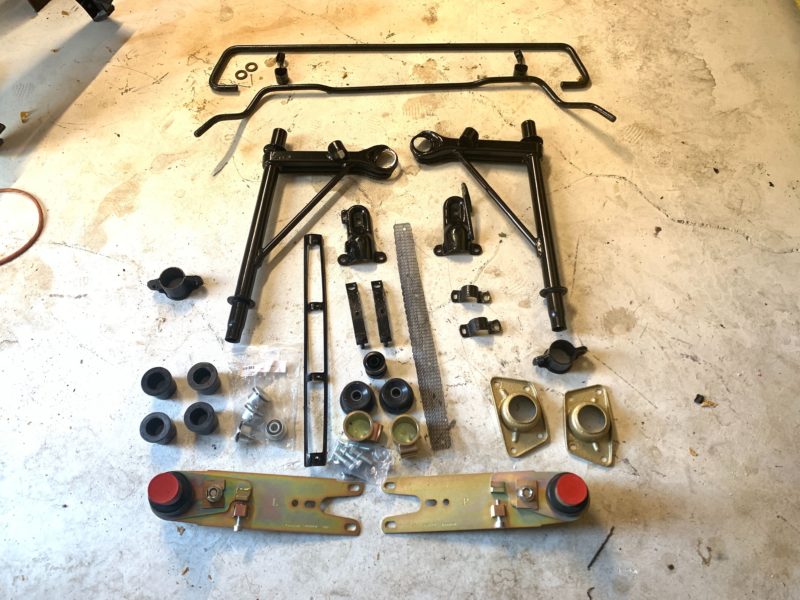
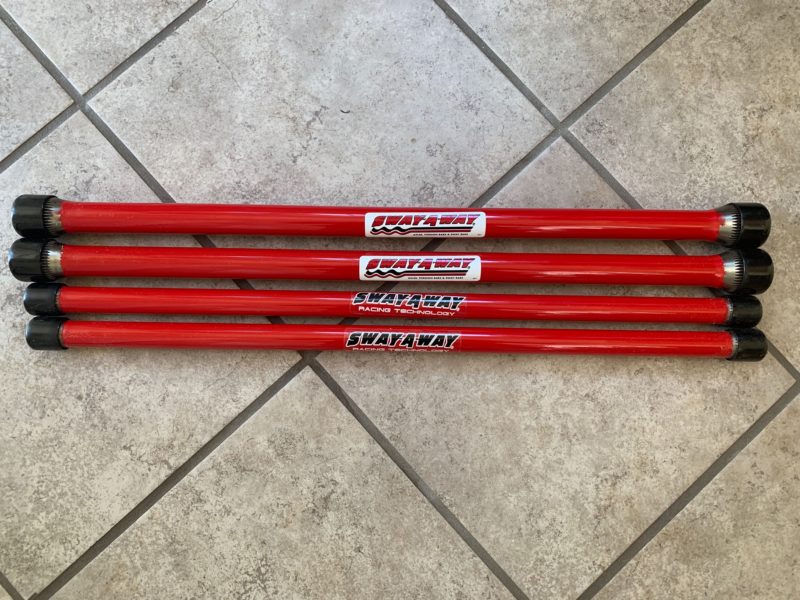
Then came the installation of our new torsion bars. For a bit stiffer ride we chose Sway-A-Way t-bars in 22mm for the front and 26mm for the rear ordered from our friends at Pelican. Once we cleaned out the torsion bar tubes in the front control arms with a long bottle brush we greased up the bars and pressed them in. With fresh hardware and seals from ECS Tuning we were looking great to get the front back together in quick order. Then we hit a snag.
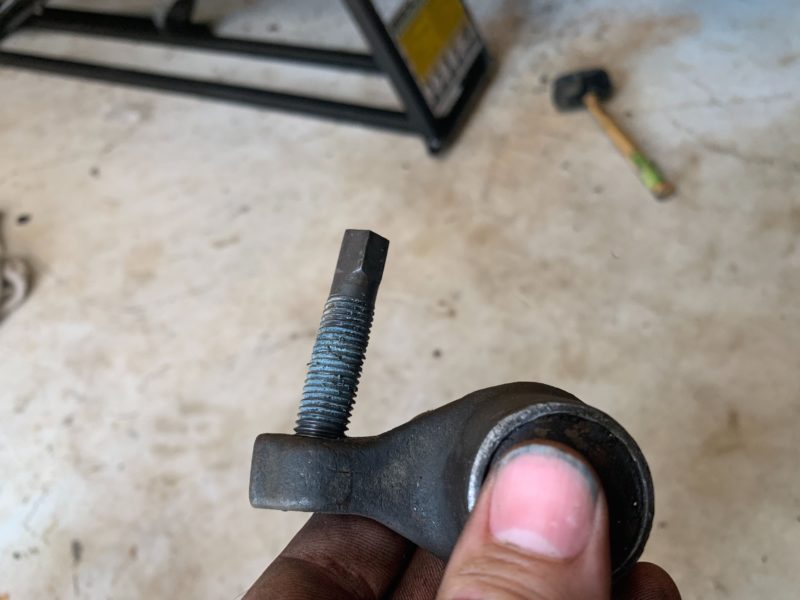
The torsion bar adjustment screw on the passenger’s side went into the hole okay, but then it would seem the threads had been bungled up in a previous adjustment or something, as it got super cross threaded and didn’t want to budge. Okay, another problem to hold us up. Do I need to buy a new mount? Those aren’t cheap. After some investigation, I decided the best course of action was to chase the threads with an 8 dollar tap. A quick walk to the local hardware and we got it looking clean again.
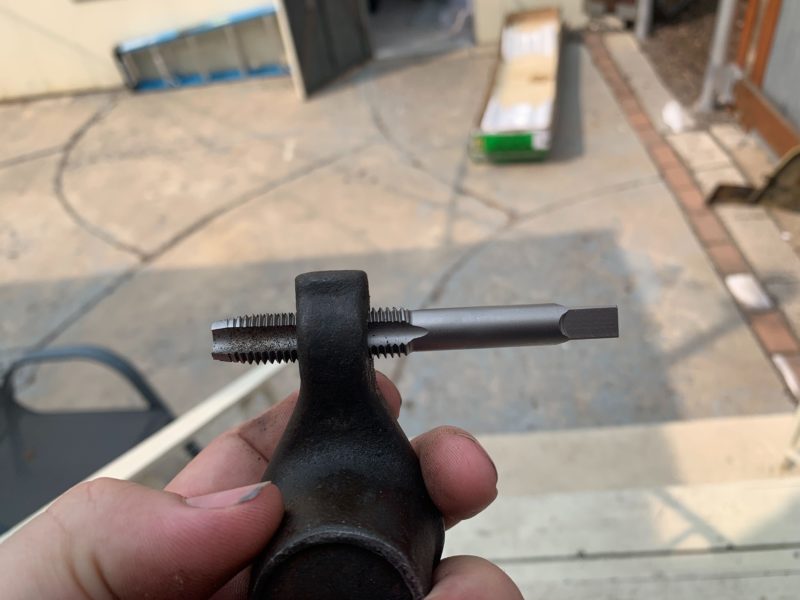
I had to be very careful about the initial installation of the adjuster bolt, but once it was threaded in the right direction it went back together like a dream. Then I re-installed the front uprights and cranked the ball joint back into the control arm. Popped in the tie rods and tightened those down. All that’s left is to put the sway bar in.
Oh, we ordered the wrong size sway bar bushings. We ordered the 20mm front bushings instead of the 16mm front bushings we needed. Great. This is becoming a comedy of errors. Or, look on the bright side, it’s an excuse to buy a used 20mm front sway bar for $98 instead of four new correct 912E bushings for $84.
Okay, let’s move on to the rear suspension. The rear spring plate installation was a massive pain that I wouldn’t wish on my worst enemies. Once the torsion bars were installed I set the rear spring plates at approximately 35 degrees. Luckily the new Rennline spring plates are adjustable, so they simply needed to be in the right range and can be adjusted lower from there. We think. We’ve never done this before.
Getting the spring plates to seat into the chassis involved a whole lot of dish soap, a couple longer-than-stock bolts to get the plate started, and a whole lot of cursing. With standard replacement spring plate bushings you can push them into the body and the retaining plate before installing the spring plate itself which is much easier. In the case of these bonded Rennline units you need to essentially press the whole thing into the chassis before pulling the retainer plate closer to the body with the bolts. It was a slow and steady process, and you can only access three of the bolts at first. Once those three are tight, you can affix the spring plate to your trailing arm, jack up the whole thing, and then install the fourth bolt. Not easy, but it’s done.
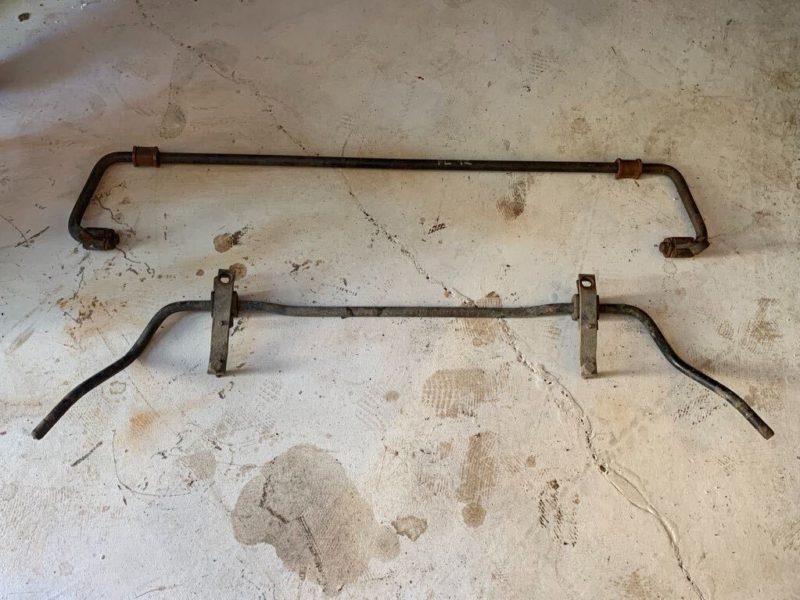
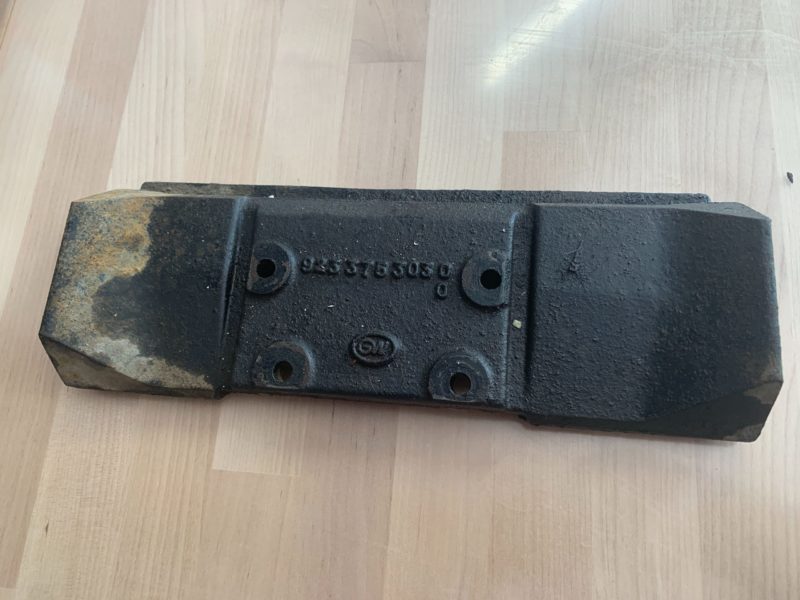
Our 912E never had a sway bar during our ownership, but the trailing arm mount and chassis mounts were still there, so we figured it was time to get a rear bar on this bad boy. Porsche decided that because the Volkswagen-sourced Type 4 engine in the 912E was a little more vibration heavy than the internally-balanced flat-six in a 911, it needed to add a 12-pound ballast weight to the transmission mount to reduce vibration into the chassis. Of course the standard straight 911 sway bar wants to occupy the same space as that weight, so 912E sway bars have a kink in them to kick out around that weight. Those are positively unobtanium, so we sourced a 911 bar and deleted the weight.
With fresh chassis mount clamps, hardware, and bushings, it took a bit of pushing and prodding to get the rear bar installed, but it’s in there now. Hopefully the reduction in body roll will be worth the trade off in increased noise, vibration, and harshness without that drivetrain damping weight.
We couldn’t get the drop links to pop onto the ball mounts, so that’ll be another job for Reno Rennsport to tackle during our upcoming alignment. We’ve also decided to save the trailing arm bushing installation for the professionals, too, as we’ve not seen a convincing way to get it done without a press and we just don’t have one.
After a quick jaunt around the block to test everything, the car definitely feels more taut now, especially in the steering and turn-in. Then again, both of our sway bars are currently disconnected and the alignment is completely jacked. So, let’s schedule a time to get the car in for the work it needs and we’ll report back soon.
And because you made it this far into this piece, here’s a fun little anecdote about doing work on your cars yourself when you have a forgetful mind like we do. When we got back from the test drive there was a thin line of oil drip leading from the street into our driveway. Naturally we had a heart attack immediately thinking of the worst possible scenario. Did we forget to tighten the drain plug and it fell out? Did one of our pushrod tube seals fail? Did the case explode?
We got down under the car and looked for the source of the leak and found it to be the fan housing. Curious, we said to ourselves, what could have happened there? Crankshaft seal?
We popped the lid and found…
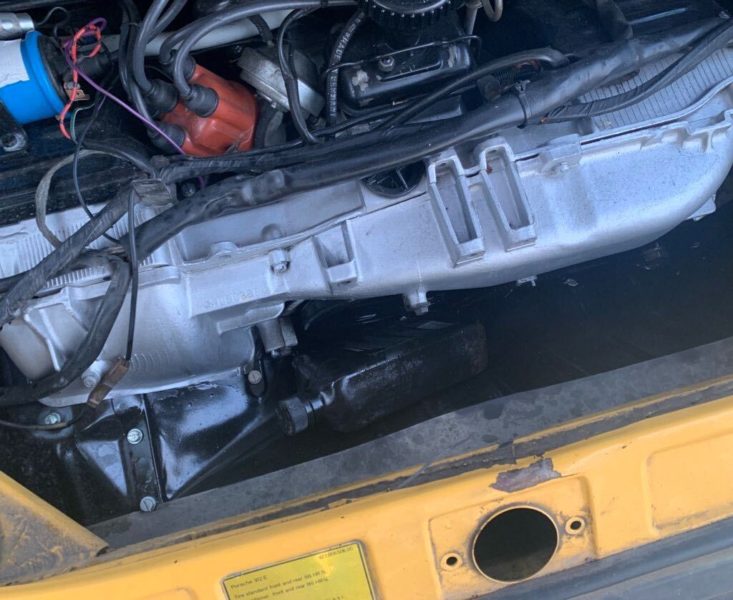
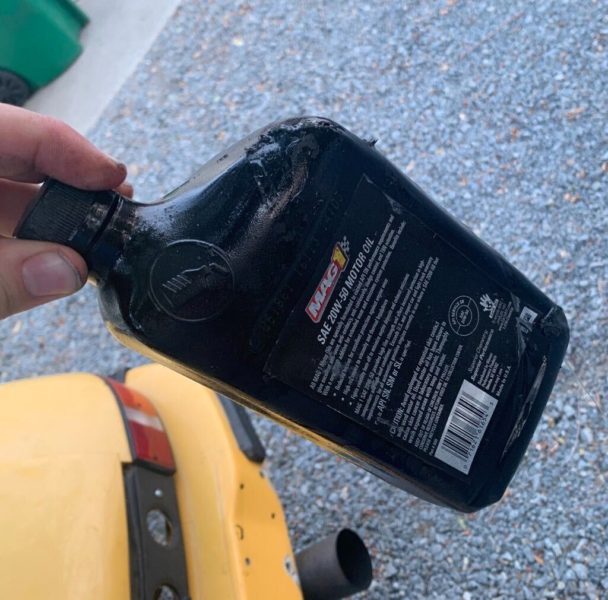
Oh. Right, we’d done an oil change two weeks prior while the car was in the garage and on stands and we were waiting for parts. Apparently we left a full bottle of old oil in the engine compartment and closed the lid on it like Tommy Boy. Anyhow, over the course of our half mile journey, the fan had delicately peeled back the plastic container to allow just enough oil to drip out into the road and cause me to momentarily panic.
Great work, universe. Thanks for pulling that prank on us!
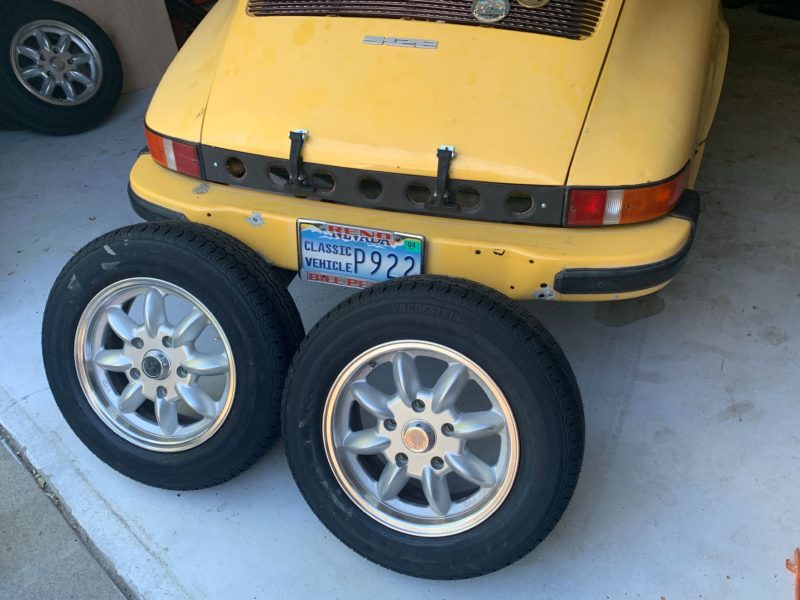
While the car was up in the air we got a fresh set of Vredestien Sprint Classic tires mounted up and balanced. We really loved our last set on this car, and can’t wait to put this set through its paces. We’re also planning to get a set of track rubber mounted up on our other set of wheels, a staggered quartet of faux Fuchs. If you have suggestions for a good 200-ish treadwear tire to mount on 15×6 and 15×7 wheels for light trackday work, drop them in the comments below, we’d love to hear what you’re rolling on.
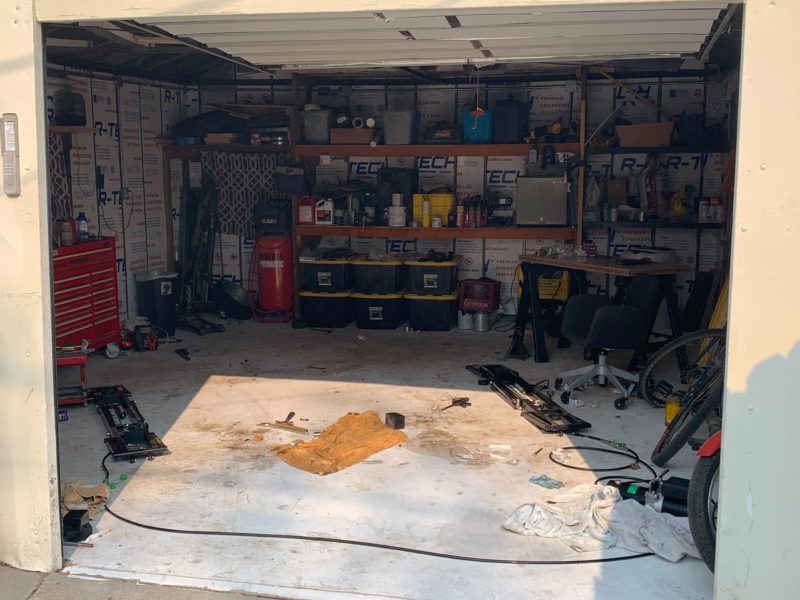
And here’s the aftermath of a month and a half of wrenching. It’s going to take me a month to clean up this garage!
Until next time, keep the shiny side up!
<!–
–>
For GREAT deals on a new or used Honda check out
Honda of Milpitas TODAY!


